")

In today’s digital age, launching a professional digital product—whether it’s a simple website, a complex mobile application, or a full-fledged Software as a Service (SaaS) platform—no longer requires months of waiting, complex backend engineering, or massive capital investment. The bottleneck of traditional coding, which demanded specialized language proficiency and large developer teams, is essentially over. A profound shift has occurred, marked by the confluence of No-Code Development and advanced Generative AI. This powerful pairing has proven that a stunning, secure, and scalable digital product can be conjured from just an idea and a simple descriptive prompt.
This market evolution has been driven by the need for speed and agility. Businesses can no longer afford to take six to twelve months to validate an MVP (Minimum Viable Product). They require a solution that delivers enterprise-grade quality at the pace of a startup sprint.
Launch Your App Today
Ready to launch? Skip the tech stress. Describe, Build, Launch in three simple steps.
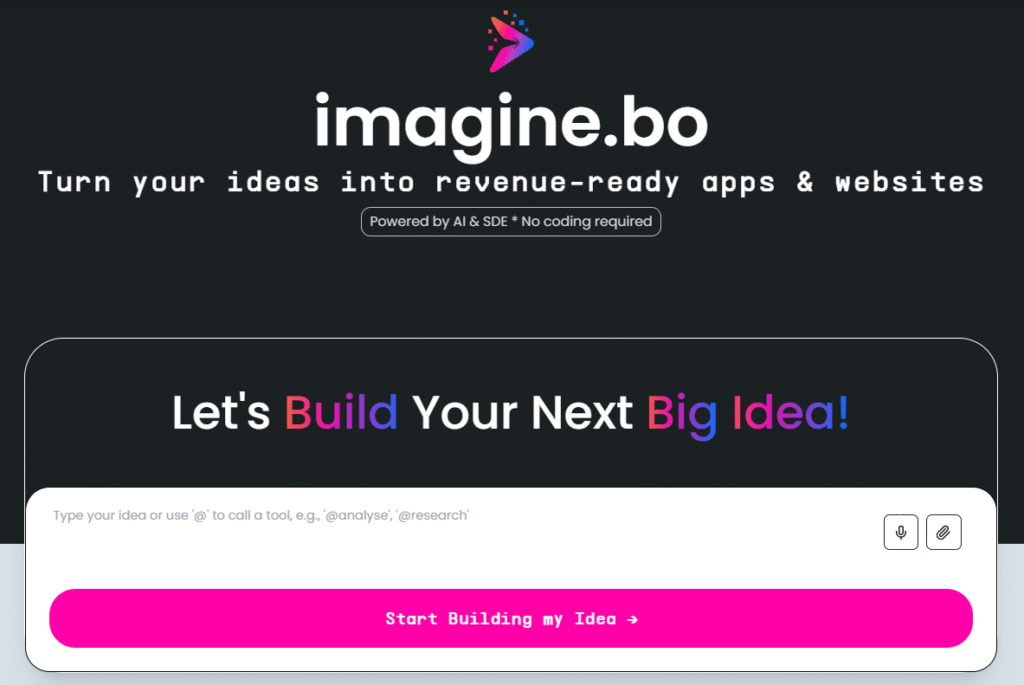
BuildThis is precisely where Imagine.bo stands out as a true industry pioneer. It is not just another AI-powered platform that converts your natural language prompt into a working application in minutes; it fundamentally redefines trust in automation. Imagine.bo’s unique value proposition is its provision of Human Developer Backup alongside seamless AI Automation. This hybrid approach guarantees 100% speed, enterprise-level scale, and uncompromising quality, ensuring that every project, no matter how ambitious, has a clear path to market success.
1. The No-Code Revolution: Product Building for Everyone
No-Code platforms have done more than just simplify web design; they have fundamentally democratized technology, shifting the focus from how to build to what to build. These platforms eliminate complex, verbose coding by presenting users with intuitive visual interfaces, primarily relying on drag-and-drop mechanics and pre-built components.
Learning How to Make a website has never been easier with these tools. With user-friendly interfaces, even those without a technical background can quickly grasp the essentials of web development. This new era enables anyone to dive into the digital world and create their own online presence, showcasing How to Make a website effectively.
Understanding How to Make a website is crucial for anyone looking to establish an online presence in today’s digital landscape. By mastering How to Make a website, individuals can elevate their brand and reach wider audiences.
Big Ambitions, Less Effort: The Citizen Developer
The rise of the “Citizen Developer” is a direct result of this shift. This term refers to business users, product managers, marketers, and analysts who can now create functional applications without requiring technical oversight from IT.
You no longer need to budget for a full-time CTO or hire expensive, specialized development teams just to get your initial product off the ground. Now, even a non-technical founder can turn their vision into a fully functional reality, retaining full creative control and rapid iteration capabilities. The focus shifts entirely to product-market fit and user experience.
Read More: If you are a non-technical founder eager to build successfully, see this essential guide: Non-Technical Founders Building Products
The Magic of AI Power and Vibe Coding
Platforms like Imagine.bo take the no-code concept several steps further by integrating sophisticated Generative AI. This is where Vibe Coding comes into play. Vibe Coding moves beyond clinical instructions and allows users to describe their desired application in natural, conversational, or emotional language—describing the feeling and function of the app rather than the technical specifications.
For example, instead of writing code for a database query, you might simply prompt: “Create a minimalist, dark-mode dashboard that shows monthly revenue trends and alerts me if sales drop by more than 10%.” The AI interprets this ‘vibe’ and instantly translates it into functional code and UI components. This creates not just a static website, but a dynamic, full-stack SaaS (Software as a Service) platform, complete with authentication, database logic, and frontend UI.
Must See: Discover how AI uses Vibe Coding to simplify development and execution: Opus 4.5 Vibe Coding No-Code Builder
2. Imagine.bo’s Unique Advantage: The AI + Manpower Hybrid Model
While many AI and No-Code tools can handle simple tasks, they often hit a wall when faced with high complexity, legacy system integrations, or unique, cutting-edge feature requirements. Imagine.bo’s hybrid model is designed to bypass this limitation entirely, making it a true game-changer in the enterprise development space.
The Hybrid Workflow: Prompt, Predict, Perfect
The Imagine.bo workflow is seamless and ensures robustness at every stage:
- Prompt: The user inputs their idea using Vibe Coding.
- AI Generation: The AI instantly builds the architecture, logic, and UI (achieving 80-95% completion).
- Validation Check: If the AI encounters a technical hurdle—like a non-standard third-party API integration, a niche compliance requirement, or a performance bottleneck—the task is automatically flagged.
- Developer Backup: The specific, complex portion of the task is assigned to a real, experienced developer for rapid, manual intervention. This human expertise ensures the final product is flawless and fully customized.
| Feature | Imagine.bo’s Advantage | Traditional No-Code Tools |
|---|---|---|
| Development Speed | Hyper-Speed: From idea to live app in minutes, thanks to AI. | Fast: But complex logic may introduce significant delays. |
| Complexity Handling | AI + Developer Backup: Where AI stops, a real developer is ready to assist, ensuring no project is too complex. | Limited: Users must often export code or resort to custom scripts. |
| Scalability | Enterprise-Ready: Architecture is designed for multi-tenant, zero-downtime scaling from day one. | Better suited for smaller, low-traffic projects with limited data requirements. |
| Integration Reliability | Human review ensures robust connection to services like Stripe, CRM, and internal legacy systems. | Relies solely on pre-built connectors, which can be rigid or fail with custom logic. |
This hybrid model allows you to launch ambitious and complex projects without fear of hitting a technical ceiling. Our core mission is to get you from idea to a fully functional, live app in seconds, backed by human quality control.
Learn the Process: Understand the hyper-efficient workflow that turns your idea into a live app: From Idea to Live Apps in Seconds
3. Launching Successful Digital Products in Niche Markets
The true value of AI-powered No-Code tools is unleashed when they are applied to create highly specific, functional solutions for niche markets that traditionally require high-cost, specialized development.
Real Estate and Smart Platforms
In complex sectors like Real Estate, the need for customized software is immense. Imagine.bo enables the rapid creation of proprietary solutions, such as:
- Intelligent, location-aware customer portals.
- Listing management systems with automated data feeds.
- Intelligent dashboards for brokers to track lead conversion and property valuation.
These tools boost efficiency and provide a competitive edge.
Case Study: See how digital products are successfully launched in the Real Estate sector: Launching Digital Products Real Estate
E-commerce, Dropshipping, and Online Stores
For e-commerce entrepreneurs, speed-to-market is everything. AI can instantly set up a storefront, integrate payment gateways (like Stripe), and establish inventory management systems. For niche models like dropshipping, this allows founders to test multiple product ideas simultaneously with minimal commitment.
Guide: How to launch your online store quickly using AI and No-Code: Build Your Dropshipping Website Without Code
The Creation of AI-Powered Apps and Internal Tools
Beyond customer-facing applications, AI handles the intricate code structure for complex internal projects. This includes:
- Customized AI-chatbots for internal help desks.
- Data entry automation tools for HR and Finance.
- Prompt-to-dashboard internal analytics tools, replacing tedious spreadsheet work.
Learn: The complete, end-to-end process of developing powerful, AI-powered applications: AI-Powered No-Code App Development
4. Scalability, Security, and Avoiding Mistakes
In the rush to launch quickly, founders must never compromise on the long-term viability of their product. Scalability and security are paramount.
Scalable SaaS Architecture and Zero Downtime
As your user base grows from dozens to thousands, your application must scale gracefully without breaking under load. Imagine.bo ensures that your underlying architecture is designed from the beginning as a Scalable SaaS Platform. This includes multi-tenancy support and the infrastructure necessary for Zero Downtime Deployment, meaning updates and feature releases happen seamlessly without ever interrupting the user experience.
Expert Advice: Essential architectural points for building a future-proof, scalable platform: Scalable SaaS Architecture for No-Code Platforms
Security and Data Privacy Compliance
In 2025, data privacy is non-negotiable. Modern platforms must handle compliance with global regulations like GDPR. Relying on a platform that incorporates these legal requirements at the architectural level is crucial, far outpacing the efforts of custom-built applications where compliance is often an expensive afterthought. This is where the human developer backup is vital for region-specific compliance.
Critical Reading: Ensure your application meets necessary legal standards: GDPR Compliance in No-Code Tools
Avoiding Common Development Mistakes
Even with AI doing the heavy lifting, missteps can happen. Common mistakes include:
- Poor Data Structure: Failing to plan the database schema correctly, leading to future performance issues.
- Neglecting Mobile Responsiveness: Assuming the AI handles everything perfectly across all devices. Always test!
- Scope Creep: Over-complicating the MVP before validation.
With the right guidance, these common mistakes in No-Code development can be successfully mitigated.
Guide: How to strategically avoid common pitfalls in No-Code SaaS development: No-Code Development Mistakes to Avoid
5. AI as the Strategic Product Partner
The shift to AI-assisted development changes the core responsibility of the entrepreneur and product manager. They move away from debugging code and managing infrastructure to focusing entirely on strategy, market research, and user feedback.
Rapid Validation and Iteration
AI-powered builders are excellent for Rapid Product Validation. You can launch multiple versions of an MVP (A/B testing different features or UIs) in hours, not weeks. This speed allows founders to gather real user data immediately and pivot based on evidence, not assumptions.
Strategy: Learn how to achieve rapid product validation using AI app builders: Rapid Product Validation with AI App Builders
Building Based on User Feedback
The most successful SaaS products evolve directly from customer needs. AI tools can be leveraged to quickly implement features requested in customer service logs or forum posts. This creates a tight feedback loop where the product manager identifies a need, inputs a prompt, and the updated feature is deployed by the AI almost instantly.
Insight: Discover how AI specifically helps you build SaaS products based on ongoing user feedback: How AI Helps You Build SaaS Based on User Feedback
Conclusion: Now is the Right Time to Launch
The combination of AI and No-Code platforms has democratized technology and put the immense power of product development directly into the hands of entrepreneurs, creators, and business leaders.
With Imagine.bo, you gain a significant competitive edge: not only do you have a fast, smart AI tool for instant product generation, but you also have the critical assurance of an experienced developer team standing by. This ensures that your product is not only launched quickly but is also technically robust, infinitely scalable, and ready to meet any unique challenge the market throws its way.
The era of long, expensive, and restrictive development cycles is over. The time to build is now. Prompt your next big idea with confidence, knowing you have the best of both automation and human expertise, and watch it become a market-ready reality!
Launch Your App Today
Ready to launch? Skip the tech stress. Describe, Build, Launch in three simple steps.
Build